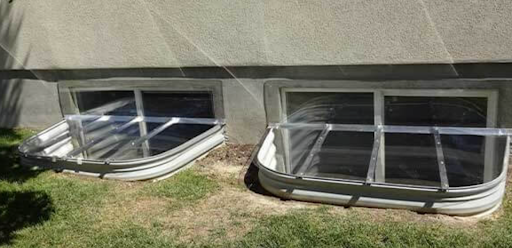
If you’re looking to enhance your home’s safety and curb appeal, one of the smartest moves is installing window well covers. Window well covers are vital for home safety, acting as a barrier to prevent falls, which is especially important in households with kids and pets.
Beyond safety, they protect against leaves, rain, and critters, thus preserving your home’s foundation and basement integrity.
On top of their practical uses, window well covers spruce up your home’s exterior. They provide your property with a clean, finished look, seamlessly blending with your landscaping.
The thought of installing them might seem daunting at first, but that’s where we come in. This guide is designed to demystify the process, breaking it down into simple, manageable steps. Whether you’re a seasoned DIY enthusiast or a beginner, you’ll find that adding window well covers is a doable, valuable addition to your home maintenance tasks.
Tools and Materials Needed for Installing Window Well Covers
To ensure a smooth and successful installation, having the right tools and materials at hand is crucial. Here’s a breakdown of what you’ll need to get started:
Measuring Tape
Precision is key when installing window well covers. A reliable measuring tape is essential for accurately measuring the dimensions of your window wells. This ensures that the covers you select or order will fit perfectly.
Drill
A drill will be necessary for most installation types, especially if you need to secure the window well cover to the foundation. Whether drilling into wood, metal, or masonry, ensure you have the correct drill and drill bits for the job.
Screws and Anchors
These are needed to attach the window well cover to the surrounding area firmly. The type of screws and anchors you’ll need depends on the material of your home’s exterior. For example, masonry anchors are required for concrete foundations, while wood screws are suitable for wooden frames.
Level
A level is important to ensure that the cover sits evenly on the window well. An uneven cover leads to improper fitting, which might compromise the cover’s effectiveness in keeping out debris and water.
Marker or Pencil
You’ll need this for marking drilling points on the foundation or window well frame, ensuring accurate placement of your screws or anchors.
Safety Glasses and Gloves
Safety should always be a priority in any DIY project. Wear safety glasses to protect your eyes from debris, especially while drilling. Gloves are also recommended to safeguard your hands during the installation.
With these tools at your disposal, you’re well on your way to enhancing the safety and appearance of your home with new window well covers.

Preparation Steps for Installing Window Well Covers
Preparing to install window well covers is a critical step in ensuring a perfect fit and maximum effectiveness.
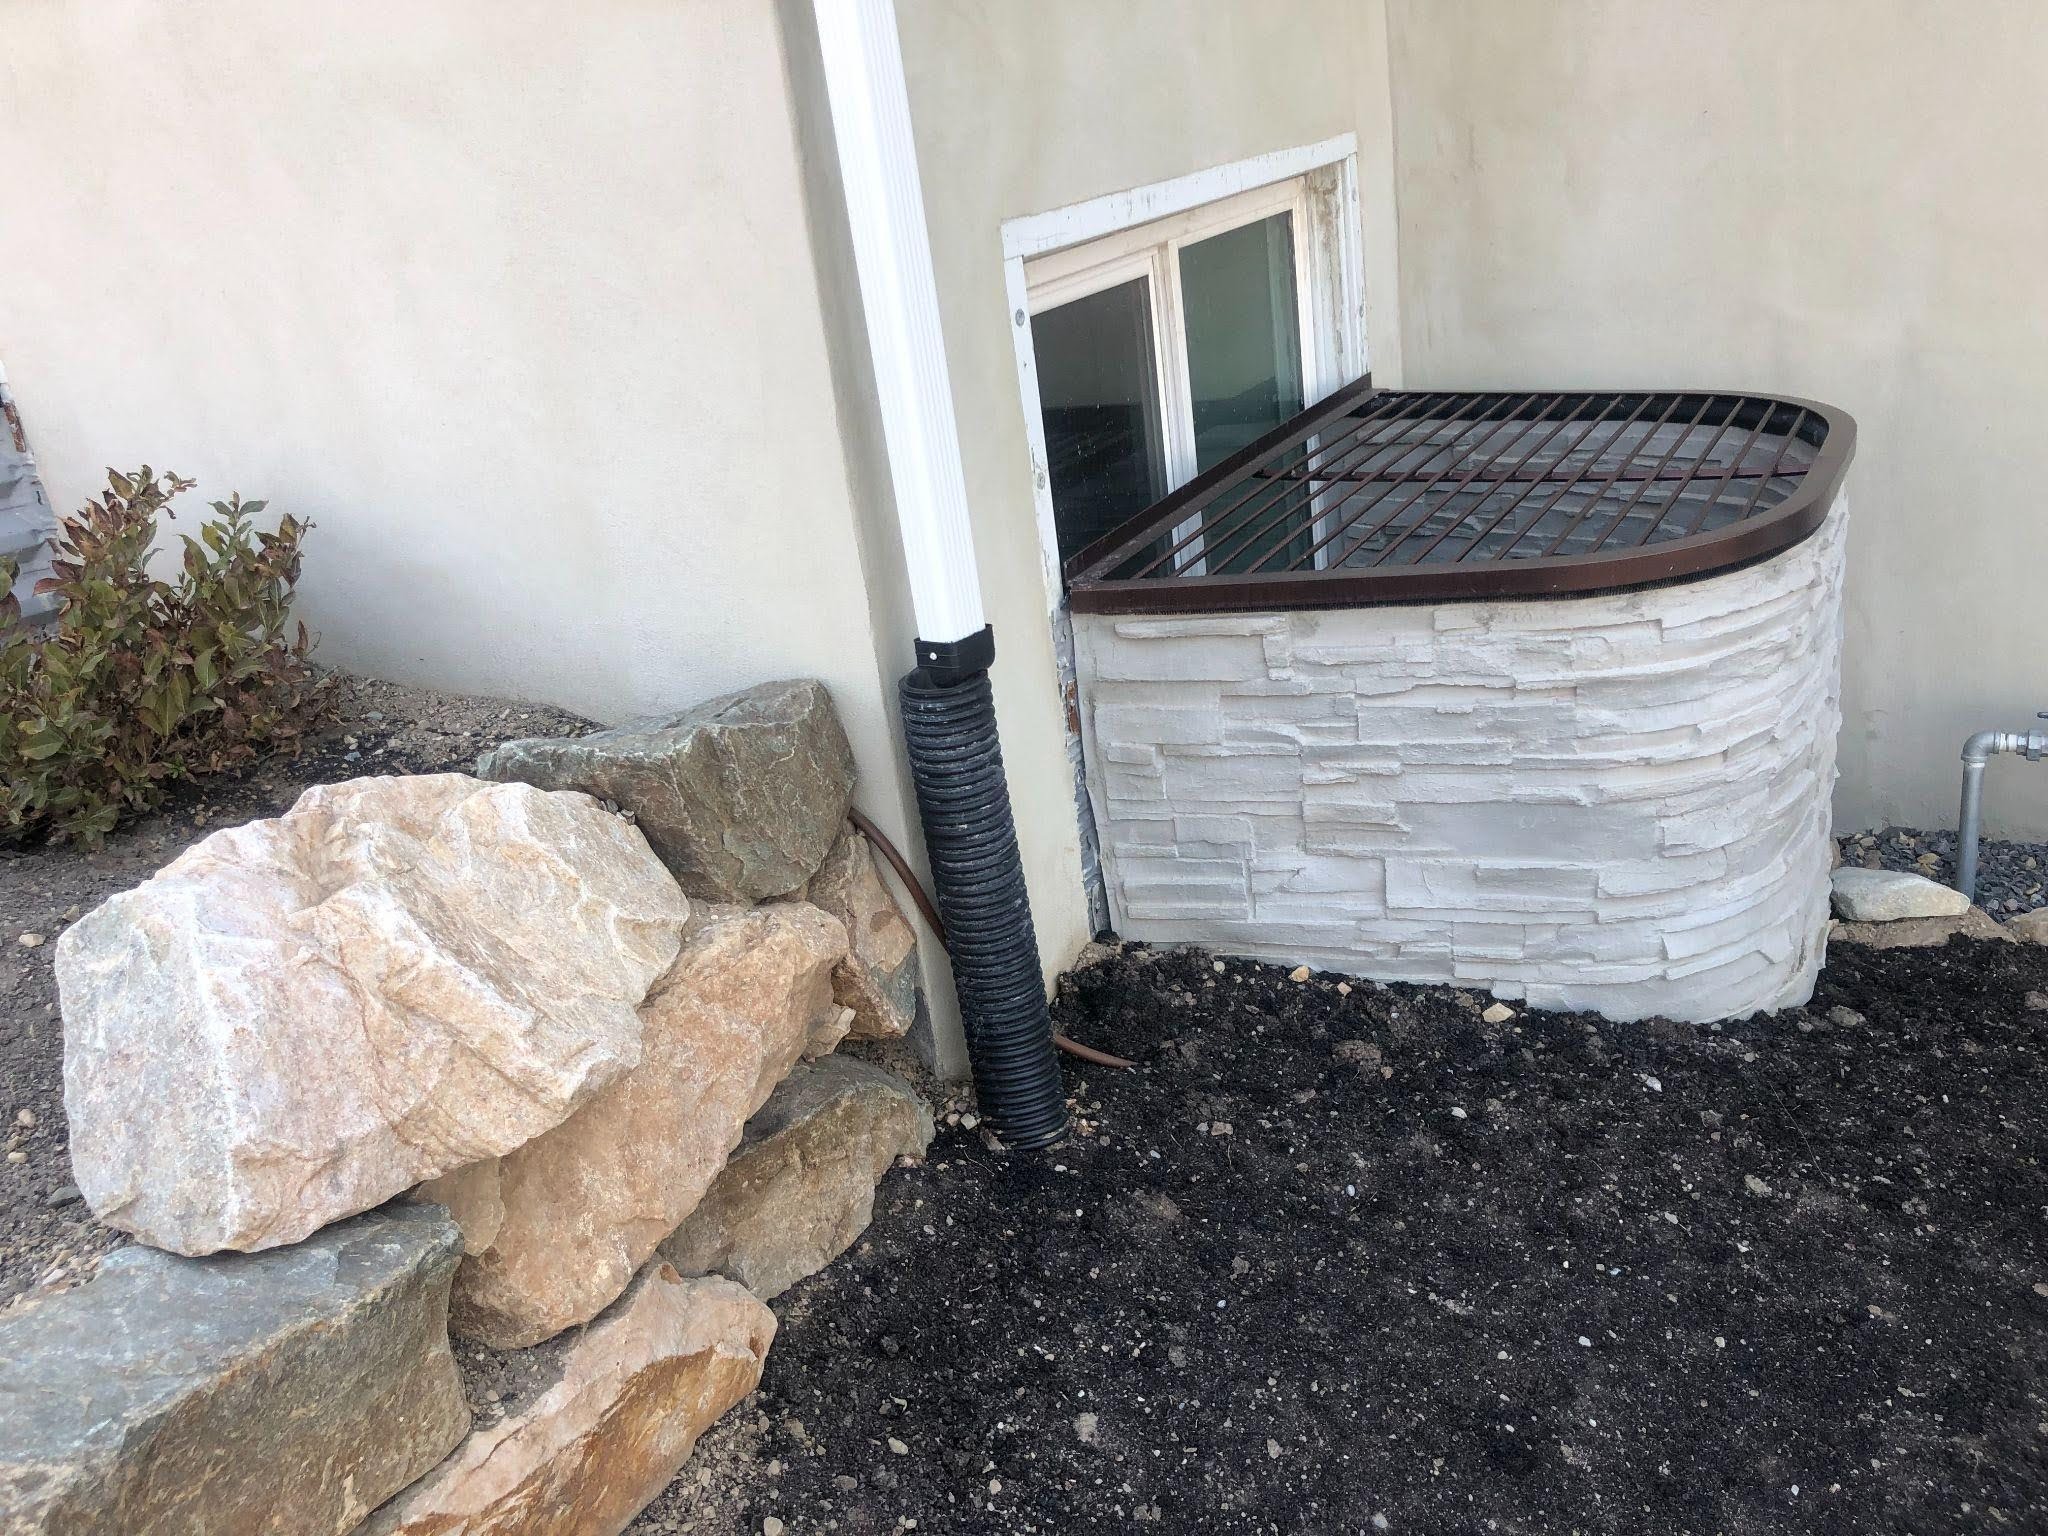
The first and most crucial step is to measure your window well. Accurate measurement is key for choosing the right window well cover. Measure the well’s width, length, and projection from the wall to its outer edge. Note any unique shapes or features for a snug, effective fit.
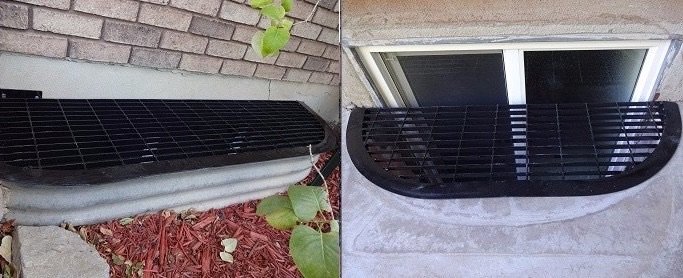
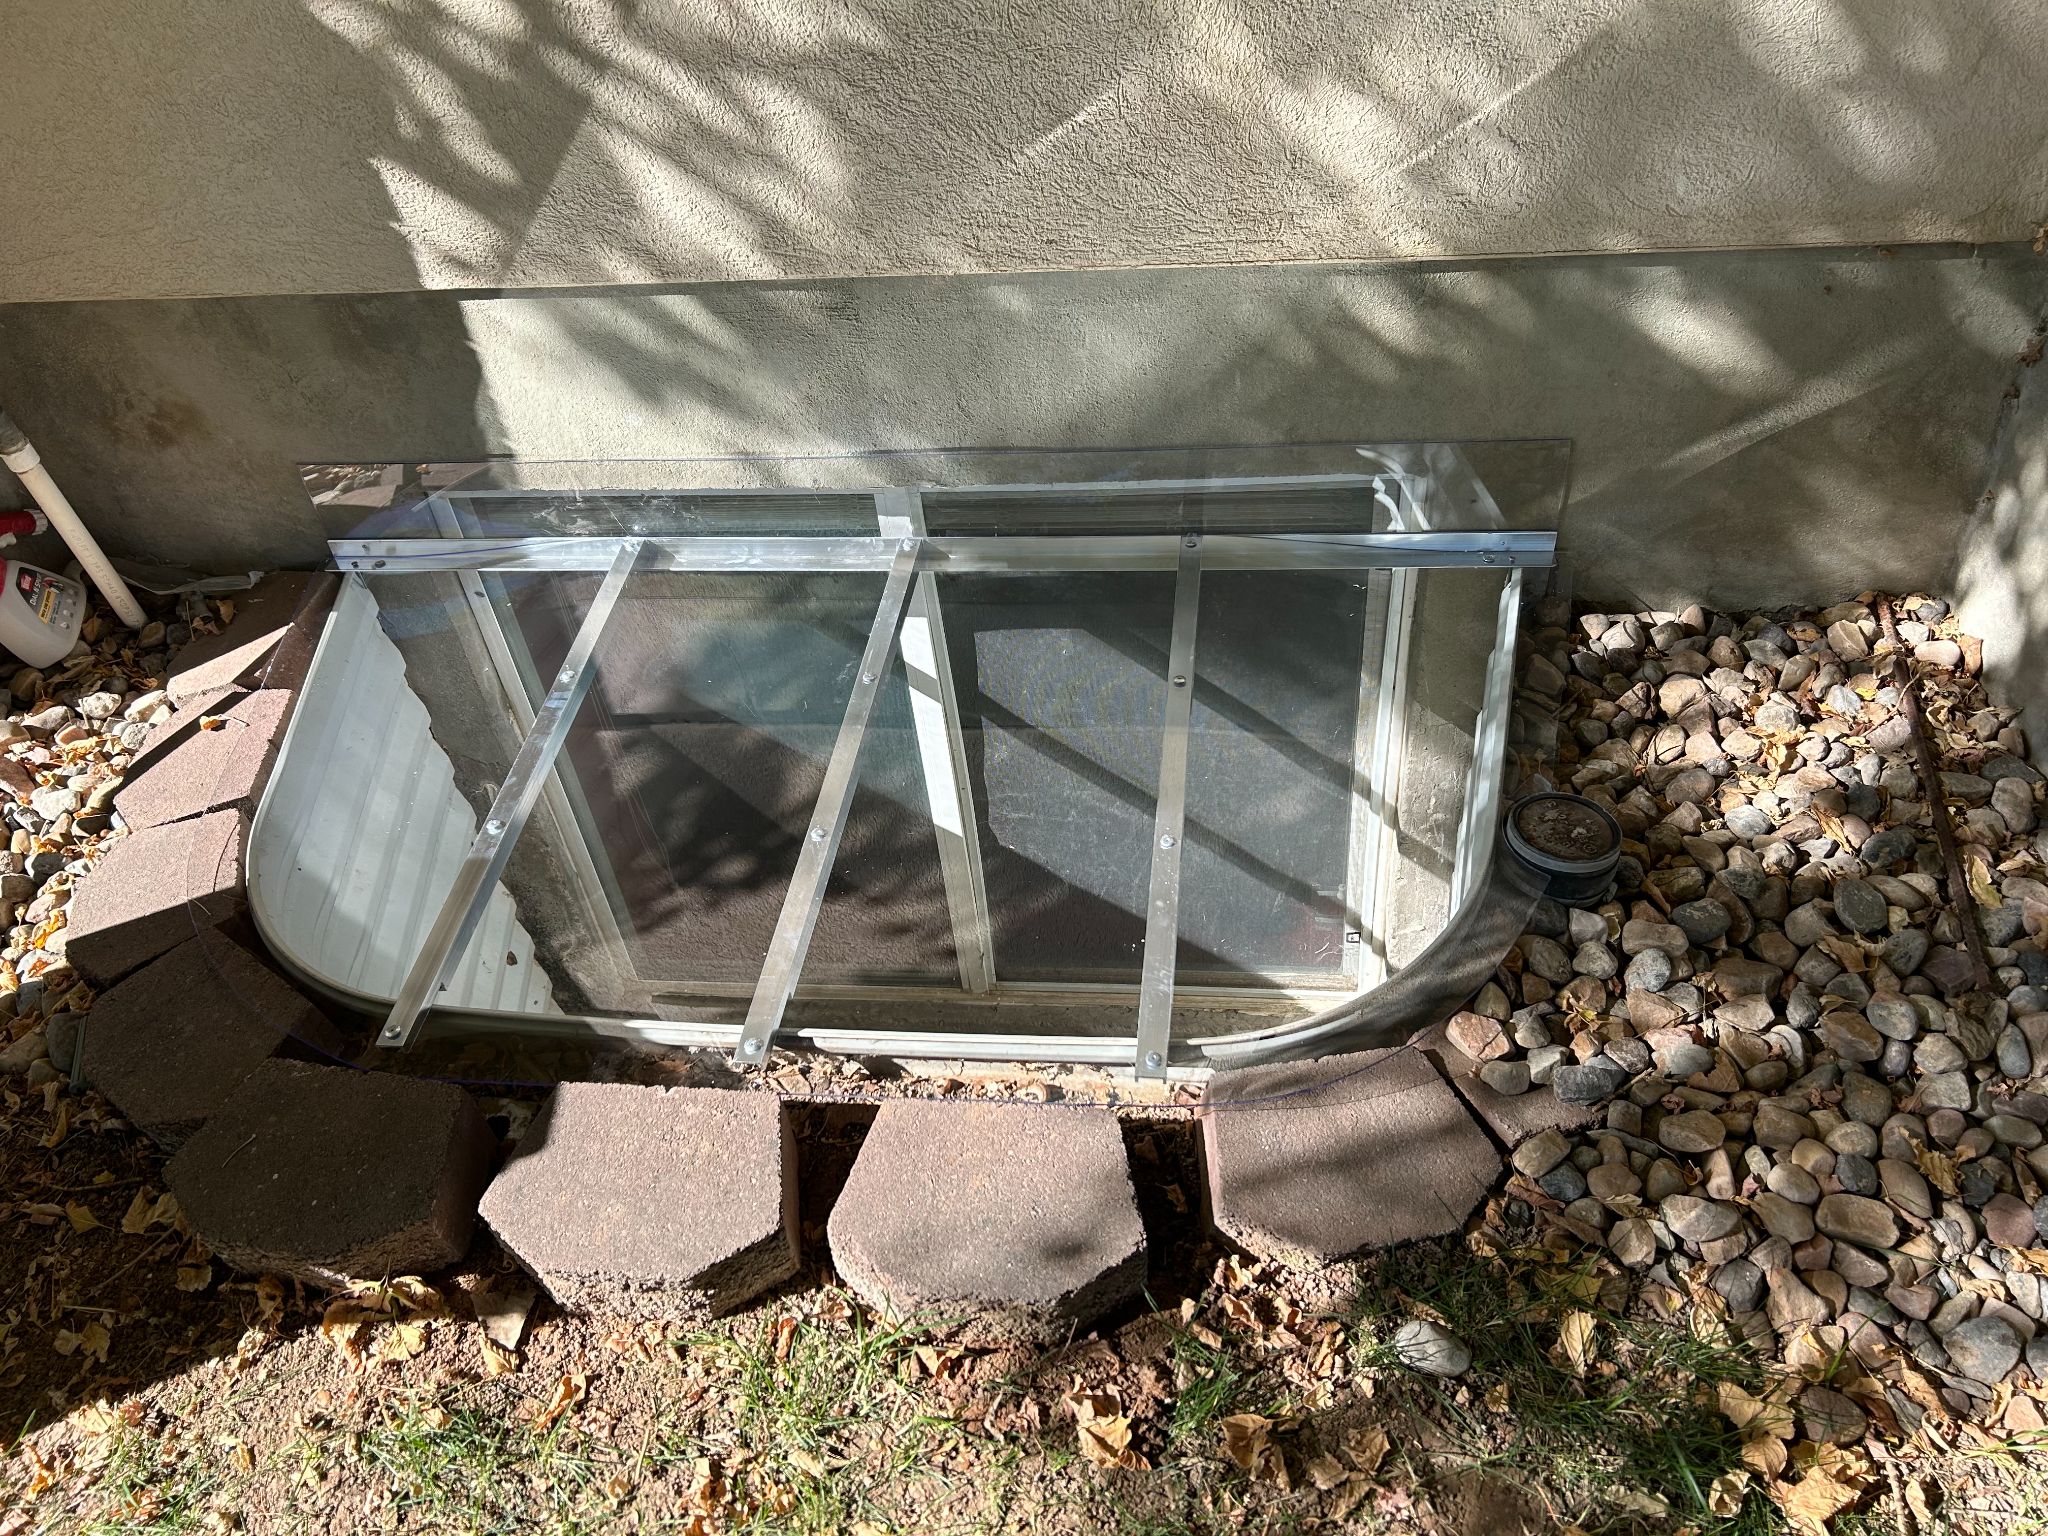
After measuring your window well, choose a suitable cover. Standard sizes fit common dimensions, while unique sizes may require custom covers. Consider both function and style. Clear covers provide more light, and metal provides more durability and security. Ensure the cover’s style and color enhance your home’s exterior.
With these preparation steps completed, you’re ready to move on to the actual installation, bringing you one step closer to enhancing the safety and beauty of your home.
Step-by-Step Installation Guide for Window Well Covers
- Position the Cover: Begin by placing the cover over the window well. Make sure it aligns perfectly with the edges of the well. The cover must sit evenly on all sides for aesthetic and functional purposes.
- Mark Drill Points: Once the cover is correctly positioned, use a marker or pencil to mark the points where you will be drilling. These marks should be on the window well frame or the foundation wall, depending on the design of your cover and where it needs to be secured.
- Drill Pilot Holes: Remove the cover and drill pilot holes at the marked points. Be sure to use a drill bit suitable for the material you’re drilling into, whether it’s wood, metal, or masonry. Pilot holes make it easier to install screws and help prevent damage to your window well or home’s exterior.
- Secure the Cover: Place the cover back over the well, aligning it with the pilot holes. Fasten the cover to the window well frame or foundation using screws and anchors appropriate for the material. If you’re using a drill, be careful not to overtighten the screws, as this damages the cover or the window well.
- Check for a Secure Fit: After the cover is attached, gently test it to ensure it’s securely in place. The cover should not move or shift when you apply light pressure. A securely fitted cover will protect against accidental falls, debris, and water ingress.
- Final Adjustments: If the cover has adjustable settings, such as hinges or locks, adjust them as needed for easy operation. This step is particularly important for egress window well covers, which need to open smoothly for emergency exits.
Tips for Ensuring a Secure and Proper Fit
- Double-Check Measurements: Before drilling or installing, double-check your measurements to avoid any errors.
- Even Pressure: When installing the cover, apply even pressure to prevent warping or bending, especially with plastic covers.
- Regular Inspection: After installation, periodically check the cover, especially after extreme weather conditions, to ensure it remains secure and functional.
Safety Considerations for Installing Window Well Covers
When installing window well covers, safety is crucial for a smooth process and to protect yourself and your home. Always wear gloves and safety glasses to guard against sharp edges and debris. Get familiar with your tools, particularly power tools, and handle them securely and steadily. Use a stable ladder and consider having someone assist you for extra safety.
Be aware of your surroundings to avoid tripping hazards, and keep the area clear of children and pets. Additionally, ensure your covers meet egress requirements for emergency exits, adhering to local building codes for safe and legal compliance. These precautions are key to a safe and successful installation.
Troubleshooting Common Issues with Window Well Covers
You might encounter common issues with your window well covers even with proper installation and maintenance. Here are some solutions to address these problems and keep your covers functioning optimally:
Improper Fit
One of the most common issues is a window well cover that doesn’t fit correctly. If it’s too big or too small, it won’t provide adequate protection. For minor fit problems, adjustable window well covers allow some degree of resizing to ensure a snug fit. If the cover is significantly misaligned, however, you may need to replace it with one that matches the exact dimensions of your window well.
Water Leakage
If you notice water pooling inside the well despite having a cover, it could be due to improper installation or clogging. First, check that the cover is properly sloped to allow water to run off. If the slope is correct, inspect the drainage system of the window well. Clear any drainage blockages and ensure the surrounding ground is graded away from the well. In some cases, adding or repairing the drainage system resolves water leakage issues.
Cracks or Damage
Plastic covers, in particular, are prone to cracks over time. Small cracks can sometimes be repaired using a suitable adhesive or a patch kit designed for the material. For larger cracks or damage, the safest option is to replace the cover to maintain its structural integrity.
Fogging or Condensation
If you’re using a clear cover and notice fogging or condensation, it could be due to temperature differences between the air inside and outside the well. While this isn’t usually a serious problem, it obstructs the view and reduces the amount of light entering. Increasing ventilation in the well helps, and insulating around the window reduces temperature differences.
Rust or Corrosion
For metal covers, rust or corrosion is a concern. Regularly inspect the cover for any signs of rusting. If you find rust, treat it with a rust inhibitor and then repaint the cover to prevent further corrosion.
Installation and more from Windowell Expressions
If you’re looking for expert assistance or high-quality window well covers, Windowell Expressions is a fantastic choice. With our extensive experience and a wide range of options to suit any home style, we can help you find the perfect solution for your window wells.
Whether you need standard covers, custom designs, or professional installation services, Windowell Expressions is equipped to meet all your needs with excellence. Explore your options, or call us for a free quote today!