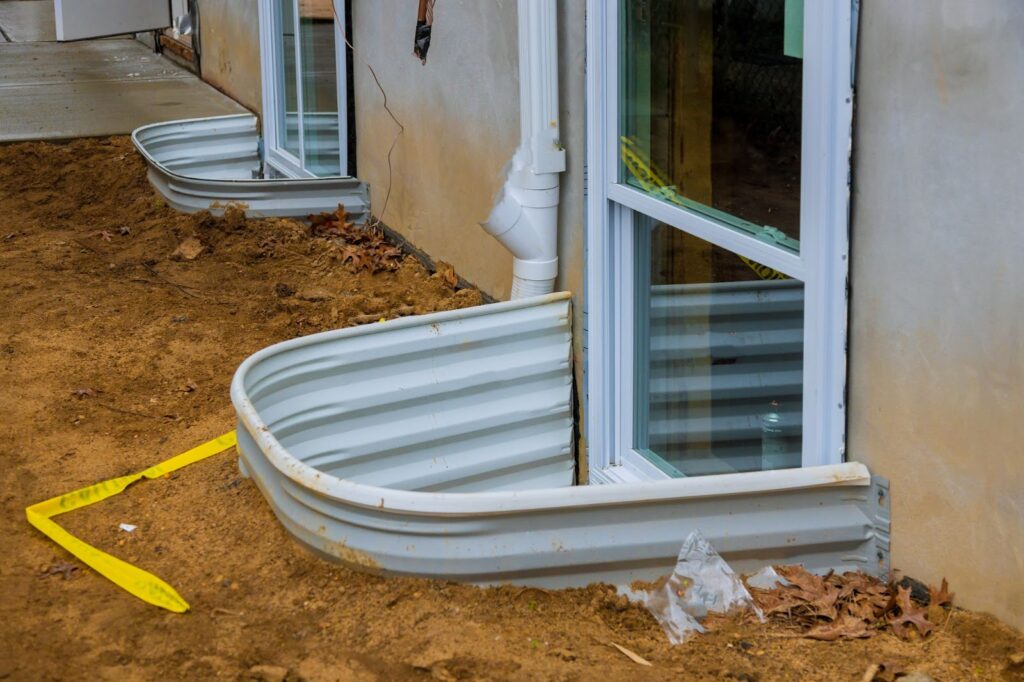
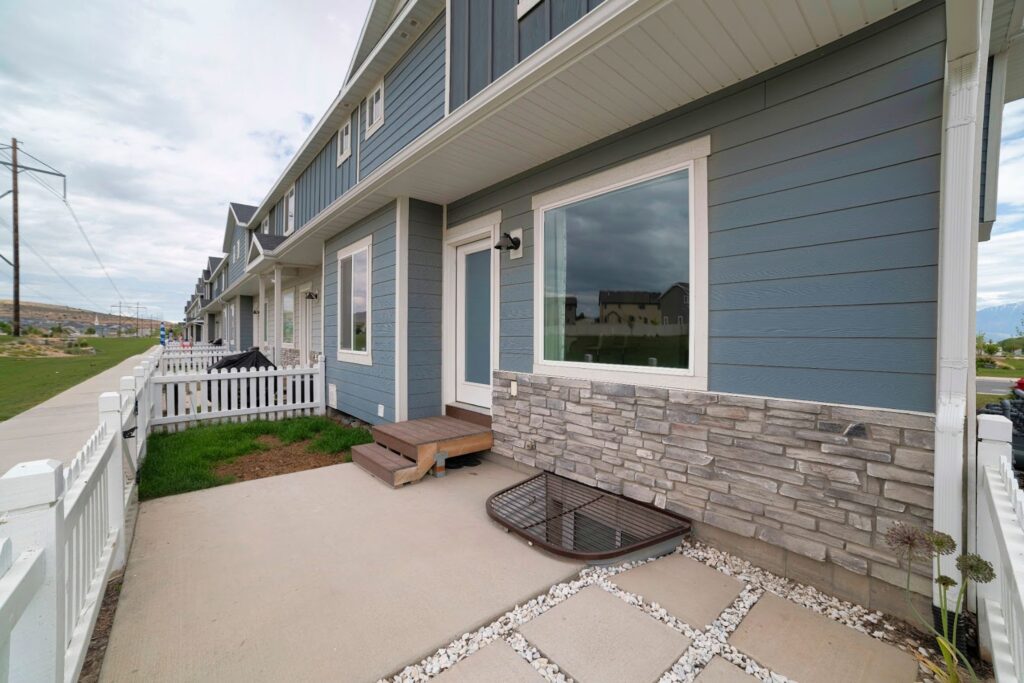
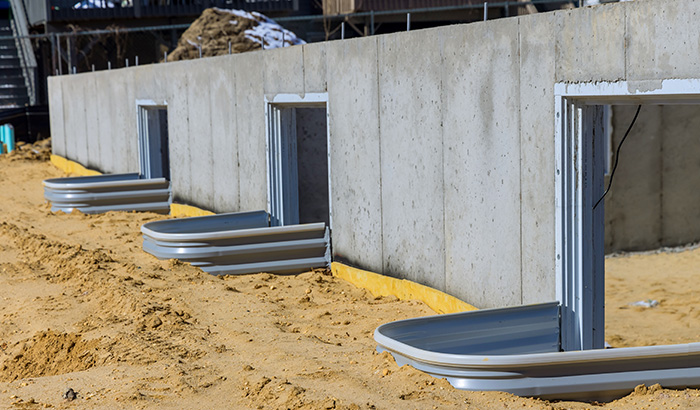
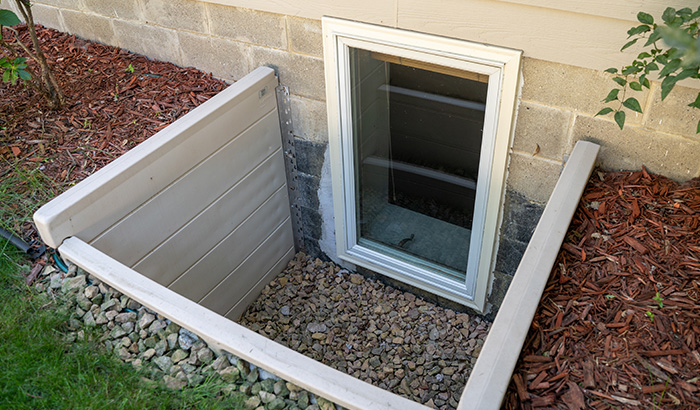
Window well covers offer a multitude of advantages that every homeowner should consider. First and foremost, they enhance safety. Open window wells can pose a serious hazard, especially in areas with foot traffic.
Installing the right window well covers prevents accidental falls and provides your loved ones with an added layer of security. They also act as a preventive measure against water infiltration during heavy rains, reducing the risk of flooding in your basement.
Beyond safety and protection, these covers also play a role in improving your home’s aesthetics. Let’s face it – open and messy window wells don’t contribute to your curb appeal. With the right window well cover installation, you’re giving your home a more polished look, which can increase its overall value should you decide to sell in the future.

Preparing for Installation
Before you jump into the window well cover installation process, it’s essential to assess the condition of your window wells. This step sets the foundation for a successful installation and ensures that your covers fit securely.
Start by closely examining the state of your window wells. Look for any signs of damage, rust, or deterioration. If you notice any issues, it’s wise to address them before proceeding with the installation. Cracks or weakened structures can compromise the effectiveness of the covers and potentially lead to future problems. Simple repairs now can save you headaches down the road.
Accurate measurements are absolutely crucial when it comes to selecting the right window well covers. Take the time to measure each window’s width, depth, and height. Keep in mind that window wells are often not perfectly square or rectangular, so measure at different points to ensure your cover will fit properly.
Remember to account for any obstructions, such as protruding window frames when measuring the height. Measuring a little larger than needed is always better to ensure a good fit. These measurements will serve as your guide when choosing covers that are the right size and shape, guaranteeing a seamless installation process.
Installing Support Brackets for Added Stability
Support brackets are significant for covers that are larger, heavier, or have moving parts like hinged sections. They help distribute the weight of the cover more evenly, reducing the risk of sagging and ensuring a longer lifespan for both the cover and the window well.
Brackets also play a key role in enhancing safety, especially if heavy snow accumulation or accidental impact occurs.
Attaching the brackets correctly is crucial for the effectiveness of your window well covers. Here’s a step-by-step guide:
- Positioning the Brackets: Start by deciding where the brackets should be placed. They should be evenly spaced along the sides of the window well. This ensures balanced support for the cover.
- Marking the Locations: Once you’ve determined the bracket positions, use a pencil or marker to mark where the screws will go. Make sure the marks are level and aligned properly.
- Pre-drilling Holes: A drill creates pilot holes at the marked positions. This will make it easier to insert the screws and prevent the brackets from splitting.
- Attaching the Brackets: Place the brackets over the pilot holes and secure them using appropriate screws. Ensure the brackets are flush against the well and wall, providing a sturdy foundation for the cover.
- Checking Stability: After attaching the brackets, give them a gentle tug to ensure they’re securely anchored. Readjust and reinforce the brackets as needed if there’s any wobbling or movement.
Placing and Aligning Your Window Well Cover
Gently lift the cover and position it over the window well. Depending on the design of your cover, you may need an extra pair of hands to assist you. Make sure the cover is centered over the well, allowing for equal overhang on all sides. This overhang prevents water from seeping in around the edges during rainfall.
If your cover has any moving parts, such as a hinged section for easy access, ensure that they are positioned correctly and ready for use.
To guarantee a proper fit, take a moment to assess the alignment of the cover. Check that the cover’s edges are parallel to the edges of the well and that the cover itself is level. Uneven positioning could lead to gaps or vulnerabilities, compromising the cover’s effectiveness.
If your cover features clips or latches to secure it in place, ensure they align with the corresponding brackets or attachment points. These mechanisms are designed to keep the cover in place, especially during inclement weather.
Securing Your Window Well Cover for Peace of Mind
Depending on the design of your window well cover, you’ll need to attach it to the support brackets or the window frame itself. This step is essential for preventing the cover from shifting or being easily removed.
Selecting the correct fasteners is pivotal to the success of your installation. Use fasteners recommended by the cover’s manufacturer, as they’ve been specifically chosen for their durability and compatibility with the cover material.
- Screws or Bolts: Most covers come with pre-drilled holes for fasteners. Use screws or bolts that are resistant to rust and corrosion, especially if your cover is exposed to the elements.
- Clips or Latches: Some covers use clips or latches to secure them in place. Make sure these mechanisms are engaged properly and provide a snug fit without putting excessive pressure on the cover.
- Locks: If security is a concern, consider covers that come with lockable features. These locks add an extra layer of protection and prevent unauthorized access.
Before you finish this step, gently shake the cover to ensure it’s securely attached. Any wobbling or movement indicates that adjustments are needed. Proper attachment and fastening ensure that your window well cover stays in place, serving its purpose effectively for years to come.

Testing the Functionality and Effectiveness of Your Window Well Cover
If your window well cover features moving parts, such as a hinged section for easy access, it’s important to check that these mechanisms work smoothly. This not only ensures convenient access but also prevents wear and tear that might arise from struggling with a stiff or misaligned hinge.
Gently open and close the cover, taking note of any resistance, noises, or uneven movement. If you encounter any issues, such as squeaking hinges or sticking, consider applying a lubricant to the moving parts. Addressing these minor concerns now can save you from potential frustrations in the future.
Your window well cover’s primary function is to protect your basement windows from debris, water, and other unwanted elements. Take a moment to evaluate how well the cover fulfills this purpose:
Debris Resistance: Look for any gaps or spaces where debris might be able to enter. A properly fitted cover should have minimal gaps around the edges and should sit flush on the window well.
- Water Drainage: During the next rainfall, observe how well the cover sheds water away from the window well. There should be no pooling or accumulation of water on the cover’s surface.
- Weight Endurance: If your area experiences heavy snowfall, consider placing a weight on the cover to simulate snow accumulation. The cover should withstand this weight without sagging or showing signs of stress.
- Safety Considerations: Test the cover’s weight-bearing capacity by placing a reasonable amount of weight on it. This ensures that the cover can support the weight of an adult or child in case of an accidental fall.
Windowell Expressions Has Got You Covered
Windowell Expressions has provided care and products for window wells for over 25 years. We are dedicated to customer satisfaction. Our window well liners, covers, grates, and other products are guaranteed to add protection to your basement and improve the function of your window wells with style and appealing solutions.
Request a free quote today!


