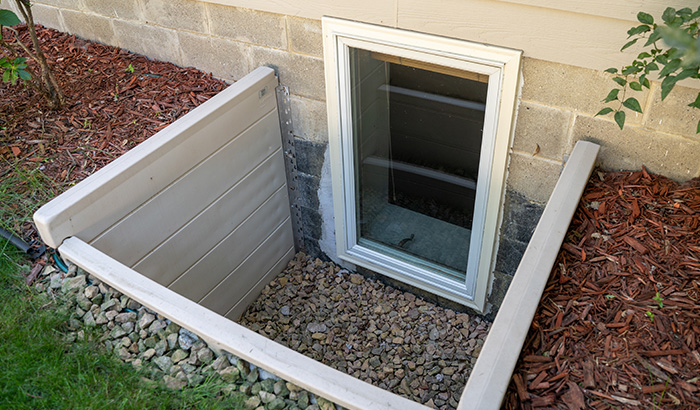
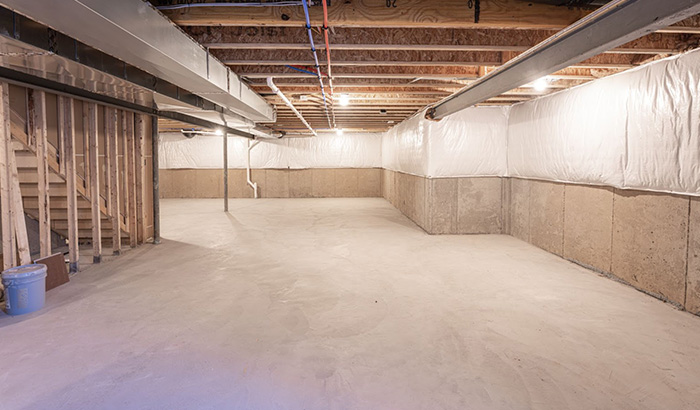
Having windows in a basement is a great addition to any home since it can increase the light and airflow in an otherwise dark and stale area.
Furthermore, windows in a basement can keep you safe by affording you another exit or entrance in the event of a disaster or danger.
That’s one reason it is absolutely critical to keep your window wells free and clear of debris so that an exit is possible. But what if there’s something functionally wrong with your window well?
It can happen. Even sturdy window wells can be damaged by landscaping, construction, shifting earth, or just long spells of wear and tear. From time to time a window well will need to be replaced, especially if you live in an older home.
Today Windowell Expressions will walk you through the necessary steps to replacing your window well.
1. Dig Space
ig up the area surrounding the window well. It can be helpful to cut your turf or sod and place it carefully all together, then to place dirt and gravel in separate buckets or wheelbarrows. You want to create plenty of space to maneuver the old window well out and to place the new window well into the slot. Always dig away more than you expect, and don’t forget that the existing window well needs to go 8-10 inches deeper than the bottom of your window frame.
2. Remove Existing Window Well
Carefully inspect your window well to determine how it has been secured to the home. Screws or bolts can be loosened or pried off with a crowbar. Go slow and steady to loosen the window well, then recycle properly. Remove adhesive and repair any damage to your exterior wall at this point so that you can securely attach the new window well.
3. Gravel
You will need about 4 inches deep of gravel to perform adequate drainage for your window well. You will probably need to remove existing gravel that has accumulated debris and blockage in order to properly drain the area and prevent water pooling and flooding.
4. Insert New Window Well
Your new window well should go 8 inches below the bottom of your window and rise 4-6 inches above ground level. These measurements will prevent damage and water problems. When you’re sure the new window well will fit, carefully secure it using hardware or adhesive.
5. Seal
Adding caulk or other sealants will prevent water damage or loosening of your window well over time. Follow the manufacturer recommendations and ask our window well experts at Windowell Expressions if you aren’t sure what to use.
6. Backfill and Finish
Pour retained dirt back around the outside of the window well until the soil is securely packed in and the sod or grass is replaced. The window well should be secure and unmoving.
If you have questions about the state of your window well, ways to make your window well safer or more attractive, or if you need to replace an old window well for better function or curb appeal, Windowell Expressions would love to help.