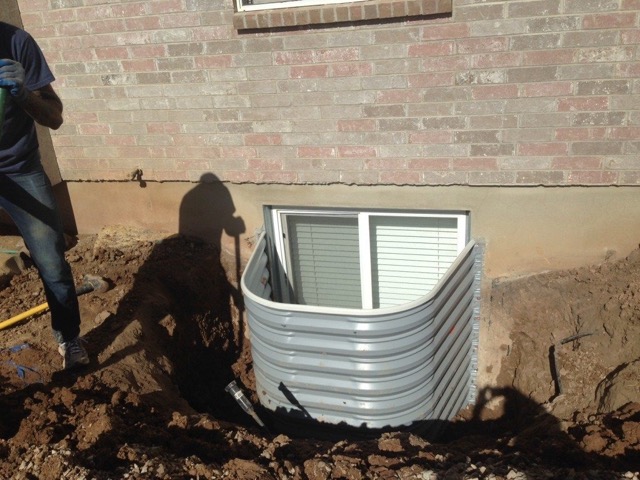
A window well dig-out project restores safe clearance, drainage, and access around basement windows by removing soil, debris, and water buildup. The best plan starts with utility locates, measurements, and a drainage check, then moves into excavation and cleanup. If you are upgrading components, coordinate materials early, including window well liners and a secure window well cover.
Why planning matters before you start digging
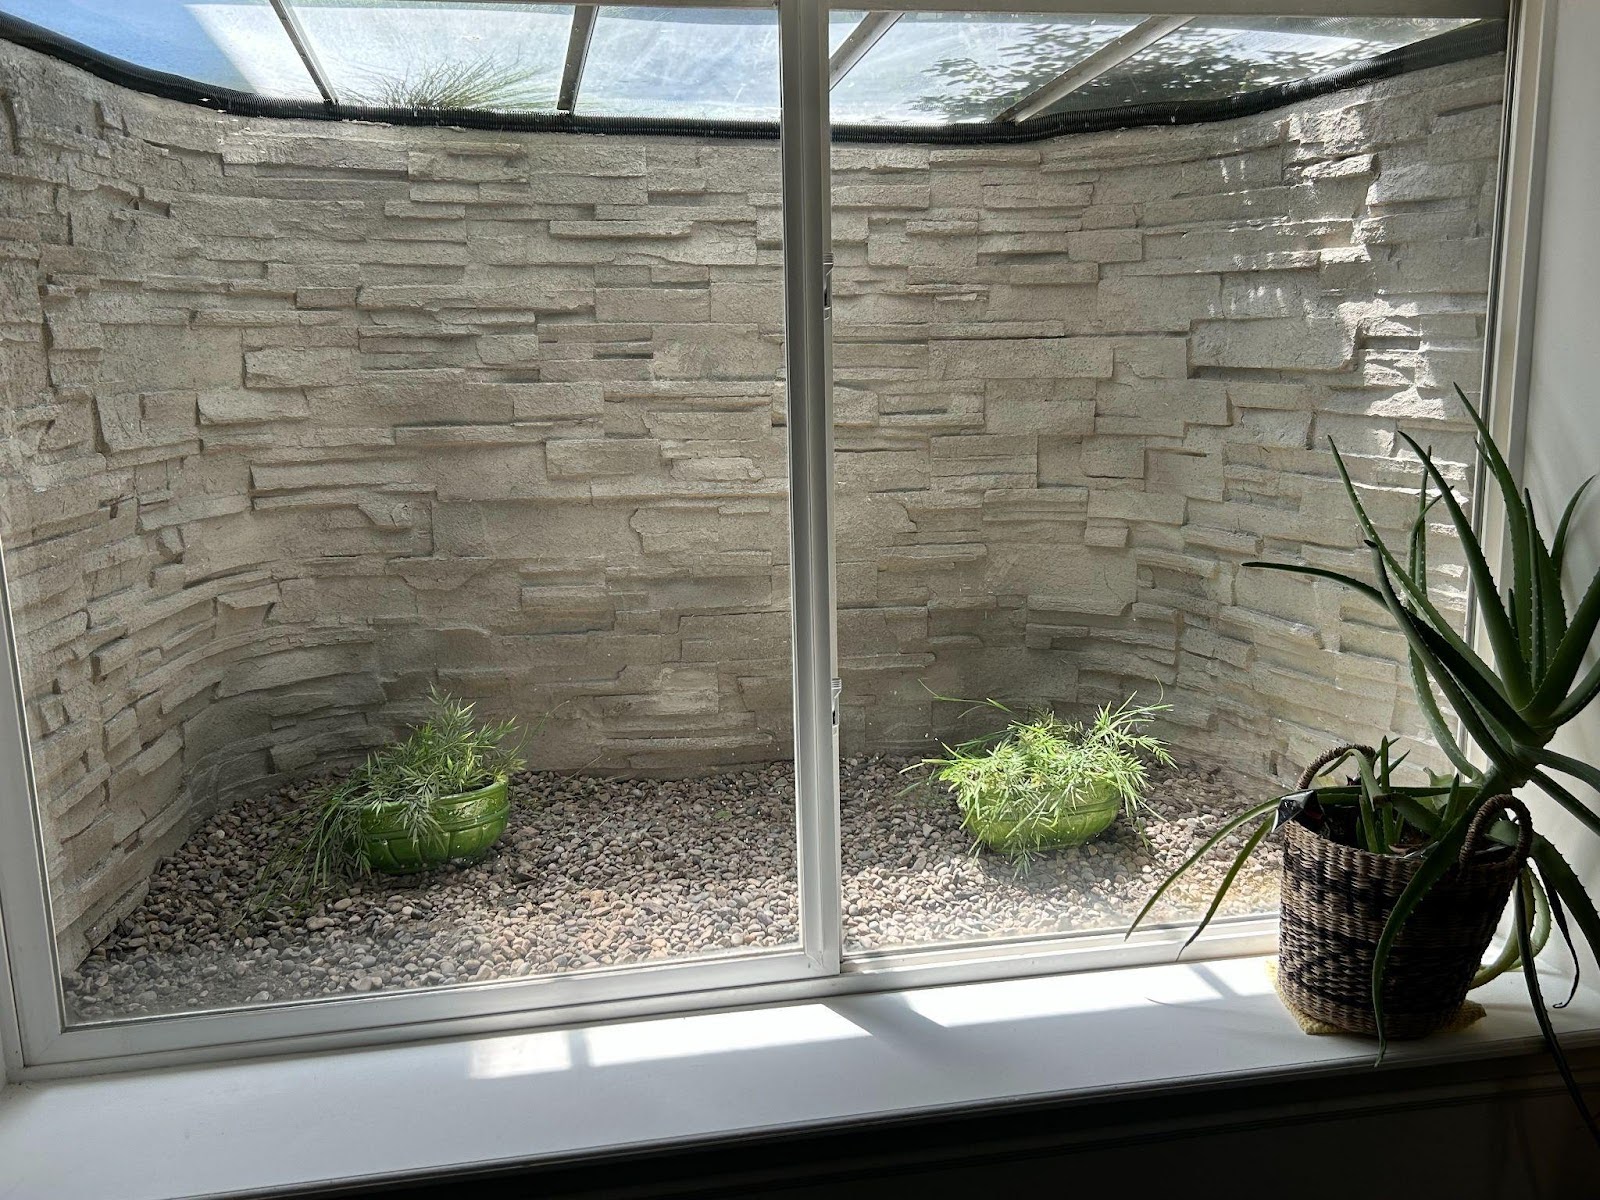
A window well that’s partially buried, full of sediment, or holding water is more than an eyesore. There may be leaks, mold, and serious egress concerns. A dig-out project fixes the problem, but only if you plan it like a small construction job, not a weekend guess-and-check.
In this guide, you’ll learn how to define scope, stage tools, protect your foundation, and avoid common missteps that cause repeat issues. You’ll also see how smart material choices, like window well liners, clean sequencing for window well installation, and the right window well cover, help your work hold up through storms and seasonal runoff.
What a window well dig-out project is and why it matters
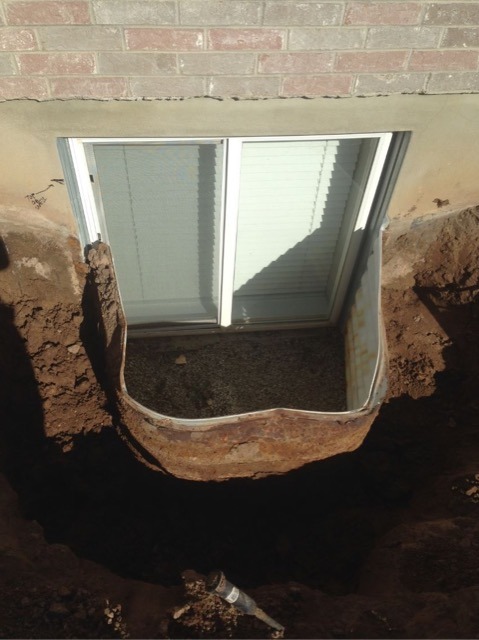
A window well dig-out project removes soil and debris to restore proper depth, drainage, and safe clearance around a basement window well. Some are quick clean-outs, while others require drainage repairs, well replacement, or grading fixes to keep water away from the foundation.
Common reasons for a dig out include:
- Water pooling after storms or snowmelt
- Soil collapse that blocks light and reduces depth
- Clogged gravel or buried drains
- Egress clearance issues
- Rust, cracks, or shifting components
Plan first if you’re upgrading more than the surface. Measure before ordering window well liners, follow the right sequence for window well installation, and finish with a properly fitted window well cover to help prevent repeat buildup.
Most repeat failures happen when drainage issues get ignored.
Step-by-step plan for a dig-out project
Use this sequence to keep the job controlled, safe, and predictable.
1. Define your scope in plain language
Decide what “done” looks like. Is it a clean-out, a full excavation to restore depth, or a component replacement? Write down your goal, the time you have, and whether you need help lifting or hauling.
2. Measure and document before you move dirt
Record the well width, projection from the house, and current depth. Take photos from multiple angles. If you’re replacing parts, measure twice. If you plan to add window well liners, measure accurately so they fit tightly and leave minimal gaps.
3. Confirm utilities and set a safe digging zone
Call for utility locates and wait until you have marked lines. Hand-dig within the buffer zone recommended by your local utility locator. If you are unsure, slow down and treat every unknown cable as live.
4. Check grading and water pathways
Look at the slope around the foundation. If the soil pitches toward the home, water will keep returning to the well. A dig out is a great time to plan minor regrading to move runoff away from the wall.
5. Evaluate drainage performance before excavation
If the well has a drain, test how quickly water leaves. Pour a couple of gallons in and watch what happens. Slow drainage means clogged gravel, sediment, or a blocked line. Knowing this early helps you plan the right fix instead of guessing mid-project.
6. Choose a spoil plan for excavated soil
Soil is the hidden time thief. Decide where it goes: on tarps, into bins, or straight to a dump run. Keep it far enough from the edge that it will not slide back into the well while you work.
7. Excavate methodically and protect the foundation
Dig in layers. Keep the area around the foundation stable, and avoid undermining the wall. In loose soils, consider sloping the sides or using temporary support. If your well is deep, do not climb into it without proper safety precautions.
8. Rebuild the base and restore drainage
Remove sludge and compacted sediment at the bottom. Refresh washed gravel if needed, and keep it free of fines that compact. If you find a damaged drain, pause and address it before backfilling.
9. Sequence any upgrades with a clear plan
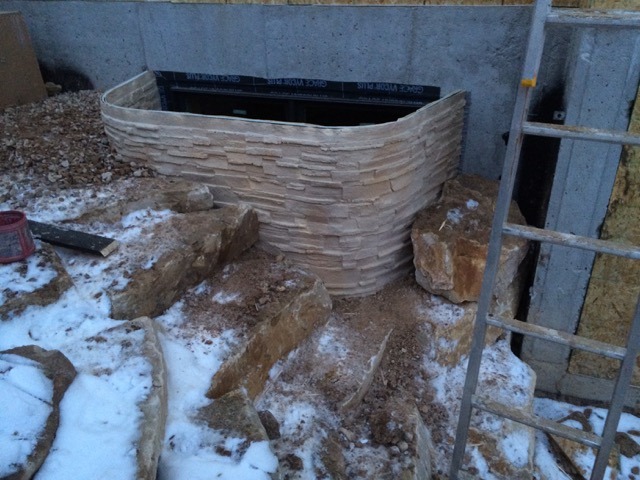
If replacement is involved, outline the order: dig, clean, base prep, placement, fastening, sealing, and backfill. That sequencing is especially important when you are coordinating window well installation so the well sits level and anchors correctly.
10 Add protection and verify fit
Once the area is rebuilt and stable, cap the project with a secure protective top. A durable window well cover helps block leaves, snow, and trash that clog drainage and create standing water. Before you walk away, confirm the cover sits flush and is fastened properly.
Benefits of planning ahead
Planning is more than paperwork — it prevents expensive, messy mistakes.
- Less risk to your home’s envelope by protecting siding, trim, and window seals
- Better drainage outcomes because you test and correct base conditions first
- More predictable materials and fit when you measure before ordering window well liners
- Cleaner results when the window well installation steps follow an intentional sequence
- Lower maintenance when you finish with a properly fitted window well cover
- Fewer repeat projects because you address root causes
Common mistakes to avoid
These are the issues that most often turn a dig out into a recurring problem.
- Skipping utility locates or assuming a line is “far enough away”
- Digging too fast and destabilizing the soil next to the foundation
- Not managing spoil piles, which slide back into the work area
- Ordering parts before measuring, especially window well liners that need a precise fit
- Rushing the anchoring and sealing undermines the window well installation quality
- Choosing a flimsy top or leaving the well open instead of using a durable window well cover
- Failing to inspect after the next storm, when small issues show up early
Data and research insights
You do not need a spreadsheet to plan a dig out, but a few things help:
- Most basement moisture issues are drainage-related, not “mystery leaks.” If water collects outside the foundation, it will find weak points.
- Freeze-thaw cycles amplify small gaps by forcing water into seams, then expanding as it freezes.
Treat drainage like the first deliverable of your project. Everything else depends on it.
Tools and materials to consider
Having the right gear staged before you dig makes the work safer and faster.
Tools
- Shovel and trenching shovel
- Hand trowel for tight edges
- Wheelbarrow, buckets, and tarps
- Tape measure and level
- Shop vac for debris and fine material
- Drill/driver and masonry bits for anchoring to concrete
- Work gloves, eye protection, and a headlamp for low-light wells
Materials
- Washed gravel for base and drainage layer
- Filter fabric when appropriate to reduce sediment migration
- Fasteners, brackets, and exterior-rated sealant
- Replacement parts based on the scope
If your project includes component upgrades, stage those parts early so you are not stuck mid-dig. That includes the materials you need for window well installation, as well as hardware and fit checks.
FAQs
How do I know if I need a full dig-out or a clean-out?
If the well is mostly clear and water drains quickly, a clean-out may be enough. If the well has lost depth, holds standing water, or shows sediment buildup at the base, a full dig out is usually the better choice. When in doubt, test drainage first.
What is the safest way to dig near a foundation?
Work in controlled layers, keep spoil piles away from the edge, and avoid undermining the wall. Use hand tools with care near marked utilities and in tight spaces. If the soil is unstable or the well is deep, consider professional help to reduce the risk of collapse.
When should I schedule professional help?
If the well is deep, drainage repair is needed, or you are restoring egress clearance, professional support improves safety and speed. This is also true if anchoring or sealing requires specialized tools and experience.
How can I reduce the chance of leaks after the project?
Start with drainage, then verify that grading directs water away from the foundation. Keep the well clean, inspect the seals, and address minor issues after the first major rain event. If you see standing water again, address it immediately.
Is spring a good time to handle this project?
Spring is ideal because you can see how runoff behaves, but saturated soils may slow the job. Late summer and early fall often offer drier ground and easier excavation. Choose a window with stable weather and plan for cleanup afterward.
Plan it once, protect it for the long haul with Windowell Expressions
A window well dig-out project goes best when you treat it as a sequence: define the scope, measure, locate utilities, and fix drainage. Only then should you rebuild and protect the space. That approach reduces the likelihood of recurring problems and helps keep your basement dry during storms and seasonal runoff.
If you want expert guidance, contact Windowell Expressions to assess your setup, choose the right solution, and get the project done cleanly and safely.